Before You Start, Make Sure You’re Prepared
- Use a Minecraft version compatible with Fabric.
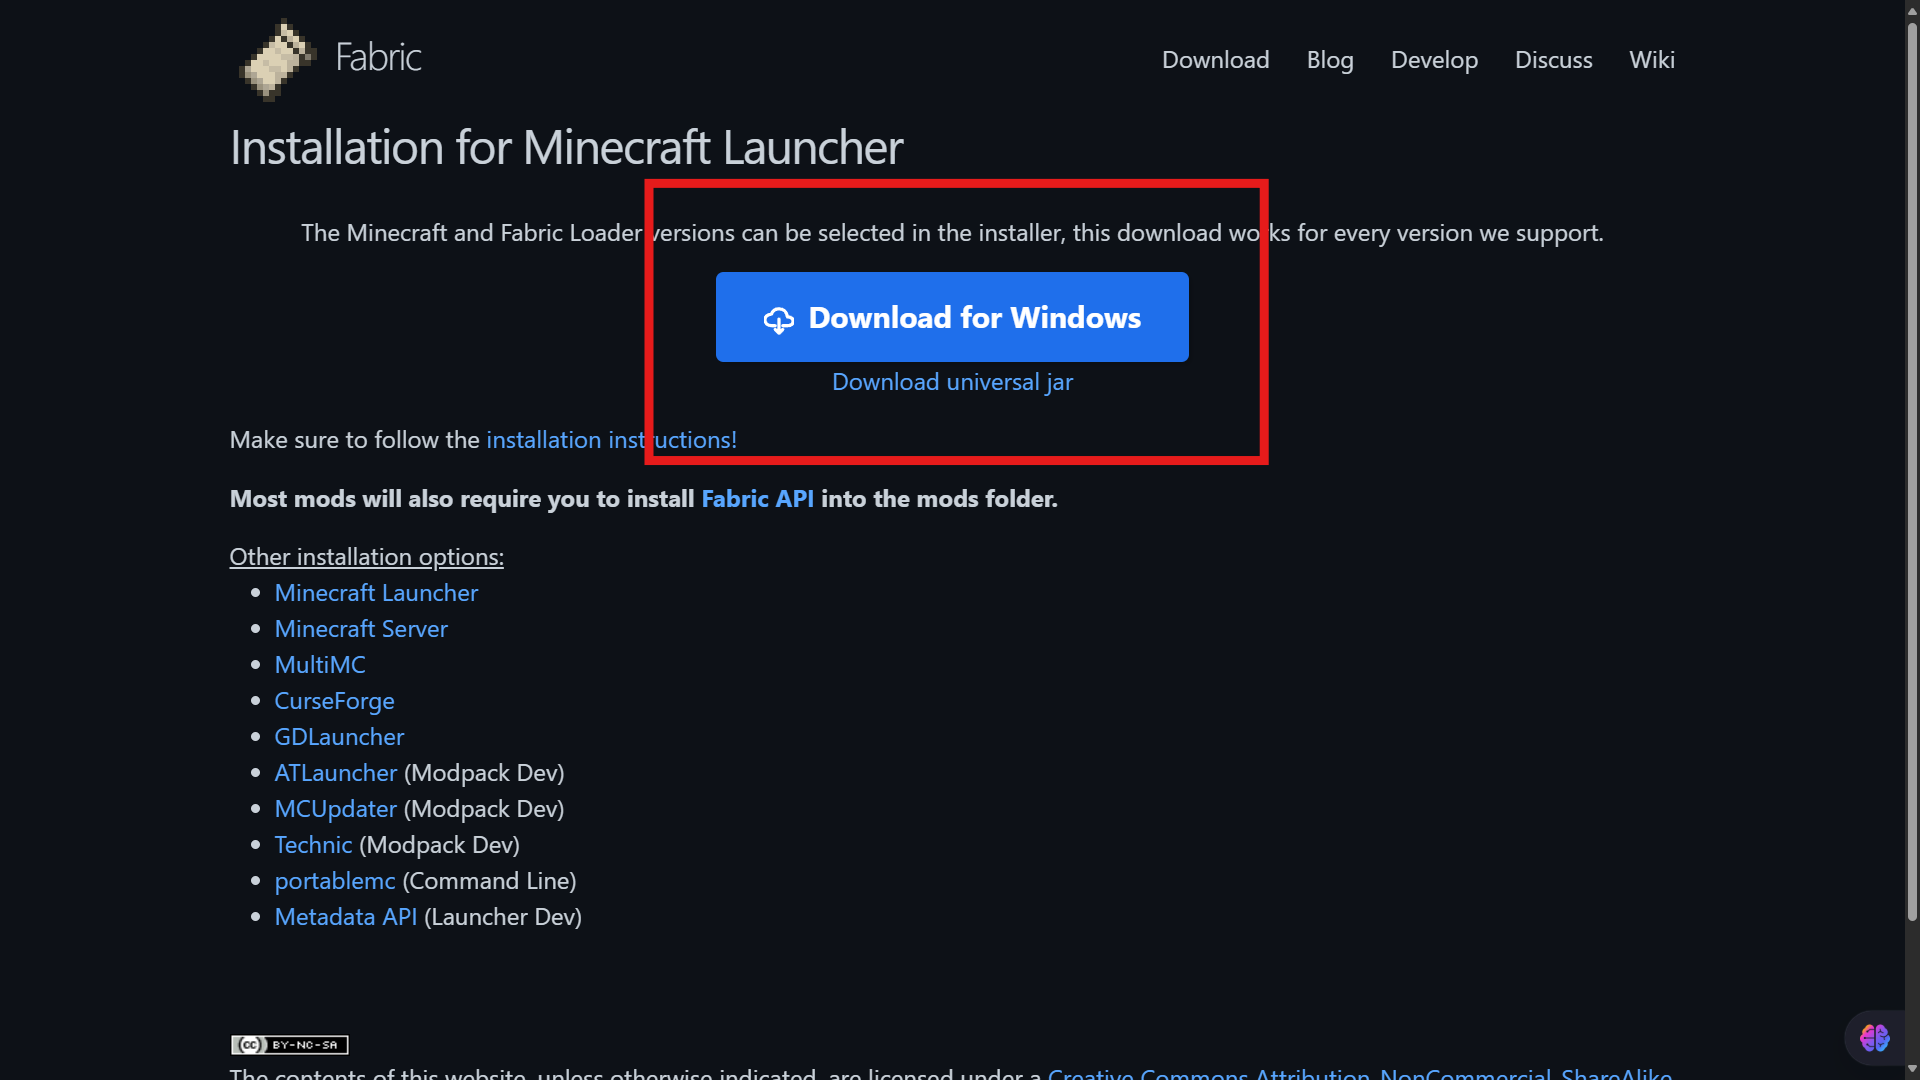
- Download and install Fabric Loader on your computer.

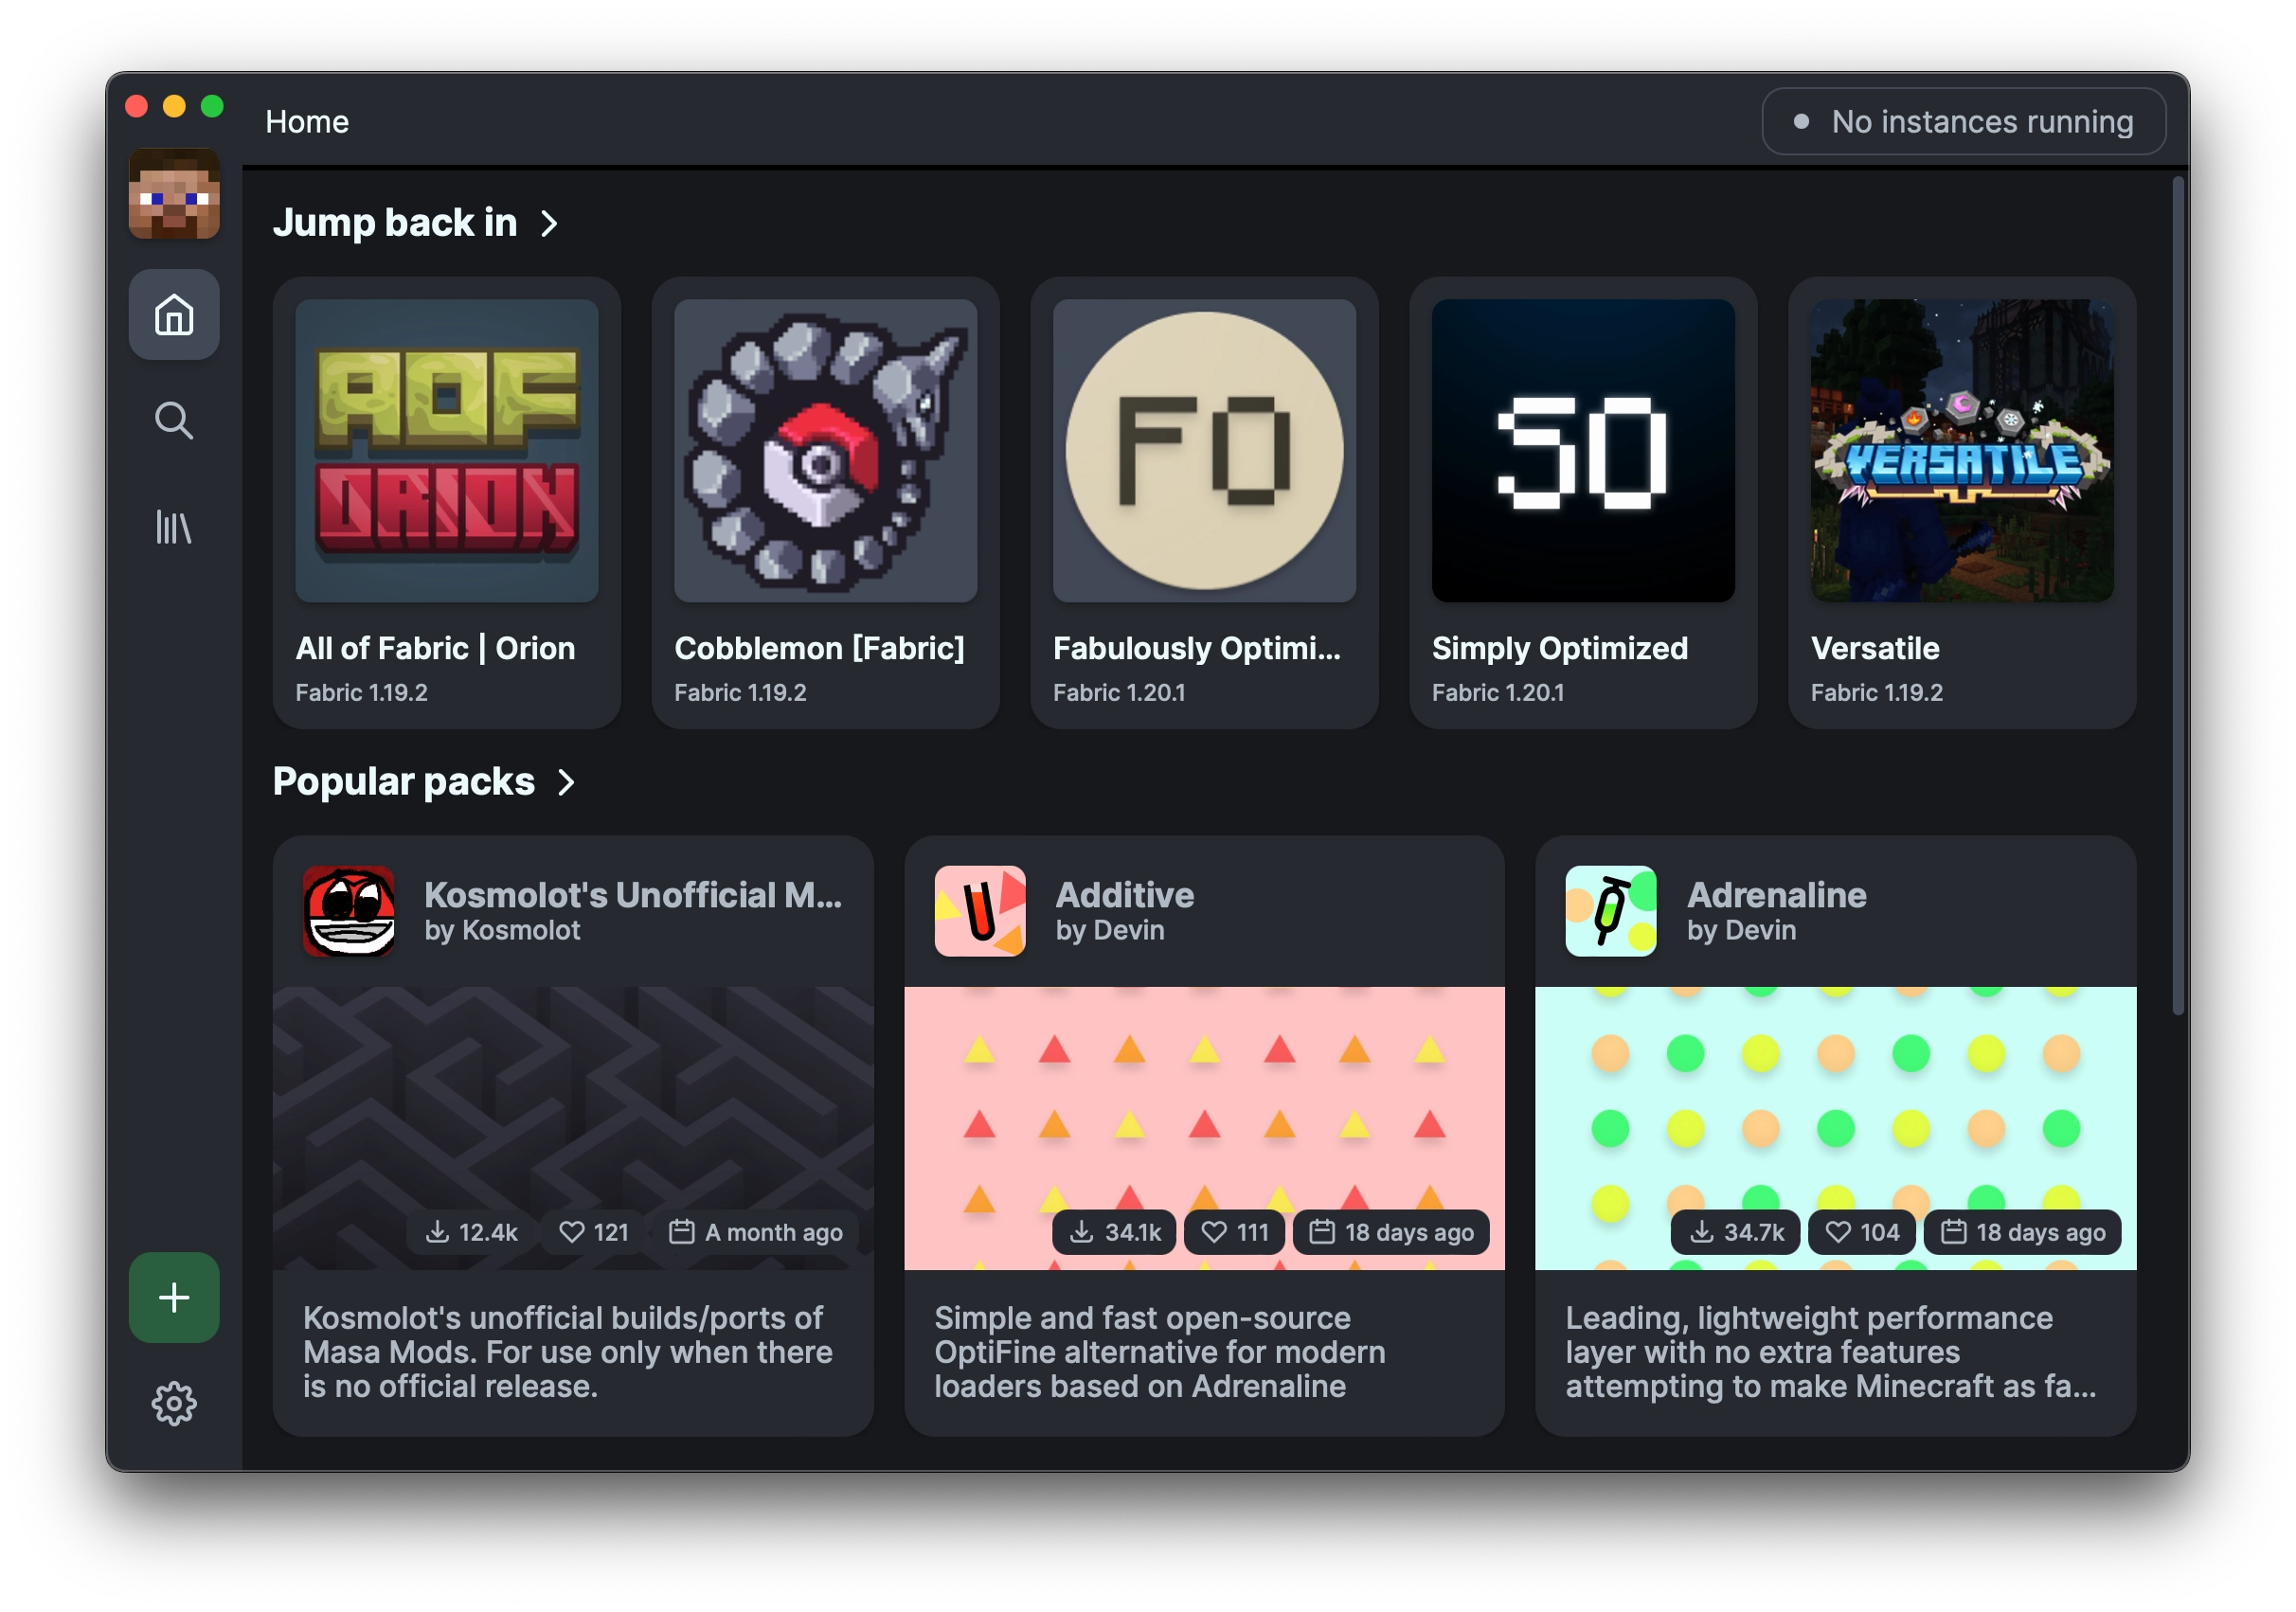
- Prepare the mods you want to use from trusted sources like Modrinth.
⚠️ Important Note: Servers with Fabric do not support Bukkit or Spigot plugins. If you want a hybrid server, you can use additional mods like Mohist (with stability risks).
Install Fabric Loader on the Server
- Open Fabric Installer.
- Select the Minecraft version that matches your server.
- Click Install Server and choose the directory where your Minecraft server is located.

- Run the fabric-server-launch.jar file to create the default Fabric server files and folders.
Download Mods from Modrinth
- Open Modrinth to find mods compatible with Fabric.

- Use the filter to select the mod version for the Minecraft version you are using.
- Click Download and save the .jar mod file on your computer.

Tips: Don’t forget to check the mod dependencies in the Modrinth description. Sometimes mods require additional libraries like Fabric API.
Upload Mods to the Server
- Make sure the server is shut down.
- Open File Manager in your server panel.
- Find the mods folder. If it doesn’t exist, create a new folder named “mods”.
- Upload all .jar mod files (including Fabric API if needed) into the mods folder.

Enjoy playing Minecraft with Fabric mods! If you encounter any issues, feel free to check the official Fabric documentation or contact the ZeroCloud support team. Happy gaming! 🎉